How to Set Up DKIM for Microsoft 365
Learn how to configure DKIM for Microsoft 365 to protect your domain and improve email authentication and deliverability.
DKIM (DomainKeys Identified Mail) protects your Microsoft 365 domain from spoofing and phishing by adding a digital signature to outgoing emails. This allows receiving servers to verify that messages are authentic and have not been altered.
Enabling DKIM improves both email security and deliverability.
Step 1: Generate DKIM CNAME Records
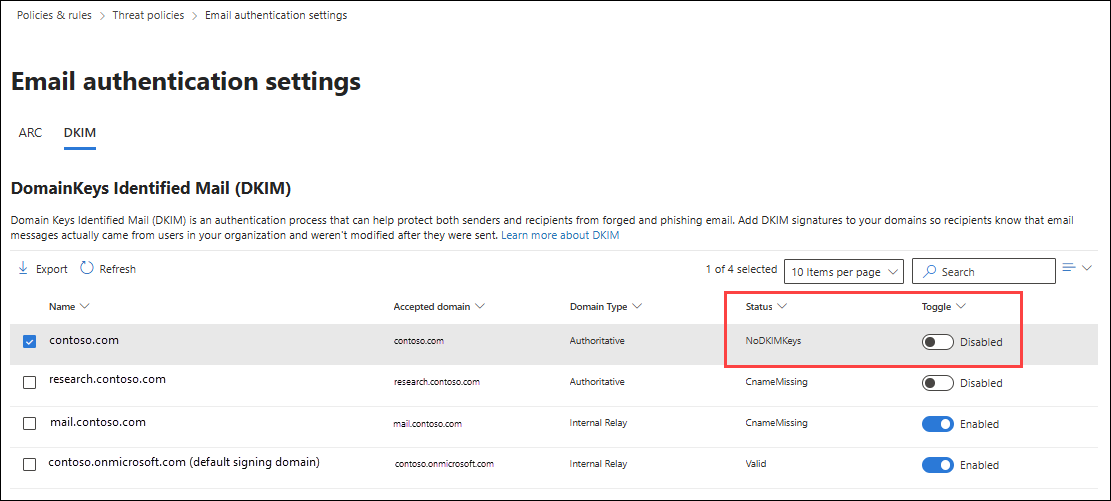
Log in to the Microsoft Defender portal:
security.microsoft.comNavigate to:
Email and collaboration → Policies and rules → Threat policies → Email authentication settingsOpen the DKIM tab and select your custom domain.
Microsoft will provide two CNAME records similar to:
Hostname: selector1._domainkey
Points to: selector1-customdomain._domainkey.initialdomainHostname: selector2._domainkey
Points to: selector2-customdomain._domainkey.initialdomain
Add both CNAME records to your domain’s DNS using your DNS provider such as GoDaddy, Cloudflare, or Namecheap.
Step 2: Enable DKIM Signing
After adding the CNAME records:
Return to the Microsoft Defender portal.
Open the selected domain.
Enable Sign messages for this domain with DKIM signatures.
The status should update to confirm that DKIM signing is active.
This allows Microsoft 365 to begin signing outgoing emails.
Step 3: Verify DKIM Activation
DNS propagation may take a few minutes, but in some cases can take up to 4 days.
Once propagated:
Check the Email authentication settings section in the Defender portal.
Confirm that DKIM status shows as enabled and active.
Best Practices
Always configure SPF and DMARC alongside DKIM for complete authentication.
If you send emails from subdomains, enable DKIM for each sending subdomain.
Avoid deleting or modifying the CNAME records after activation.
Key Takeaway
DKIM is a critical authentication layer for Microsoft 365. Once enabled, your emails are cryptographically signed, improving inbox trust and protecting your domain from impersonation.
Also check
DKIM: What, Why, and How to Set it up?
What Is an SPF Record
DMARC: What, Why, and How to Set it up?
Technical Checklist Before Starting Email Warm-up